I wanted to share music with my children, without a screen. So I built them an audio player. The products on the market did not suit me: proprietary, closed, they limit what you can do. The MusicBox works with NFC tags, without limits: you insert a card into the slot, you place a figurine on top, or you stick a tag on a toy or a book. The story starts.
Since 25 September everything is in beta. Here is everything I made.
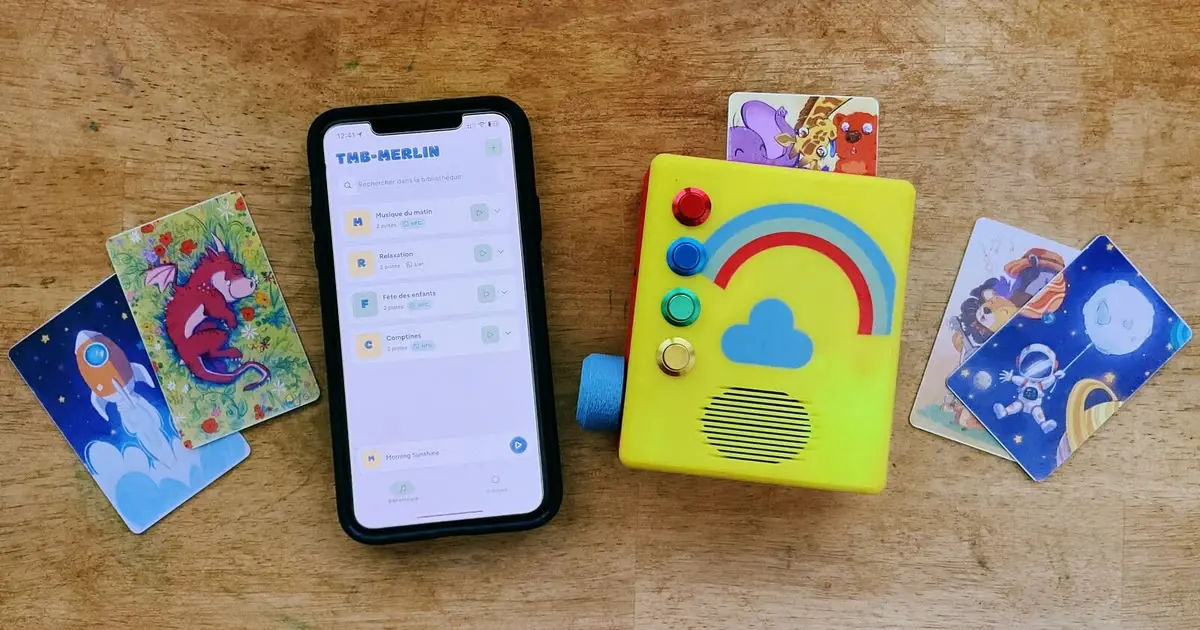
The enclosure
It is 3D printed, in four parts.
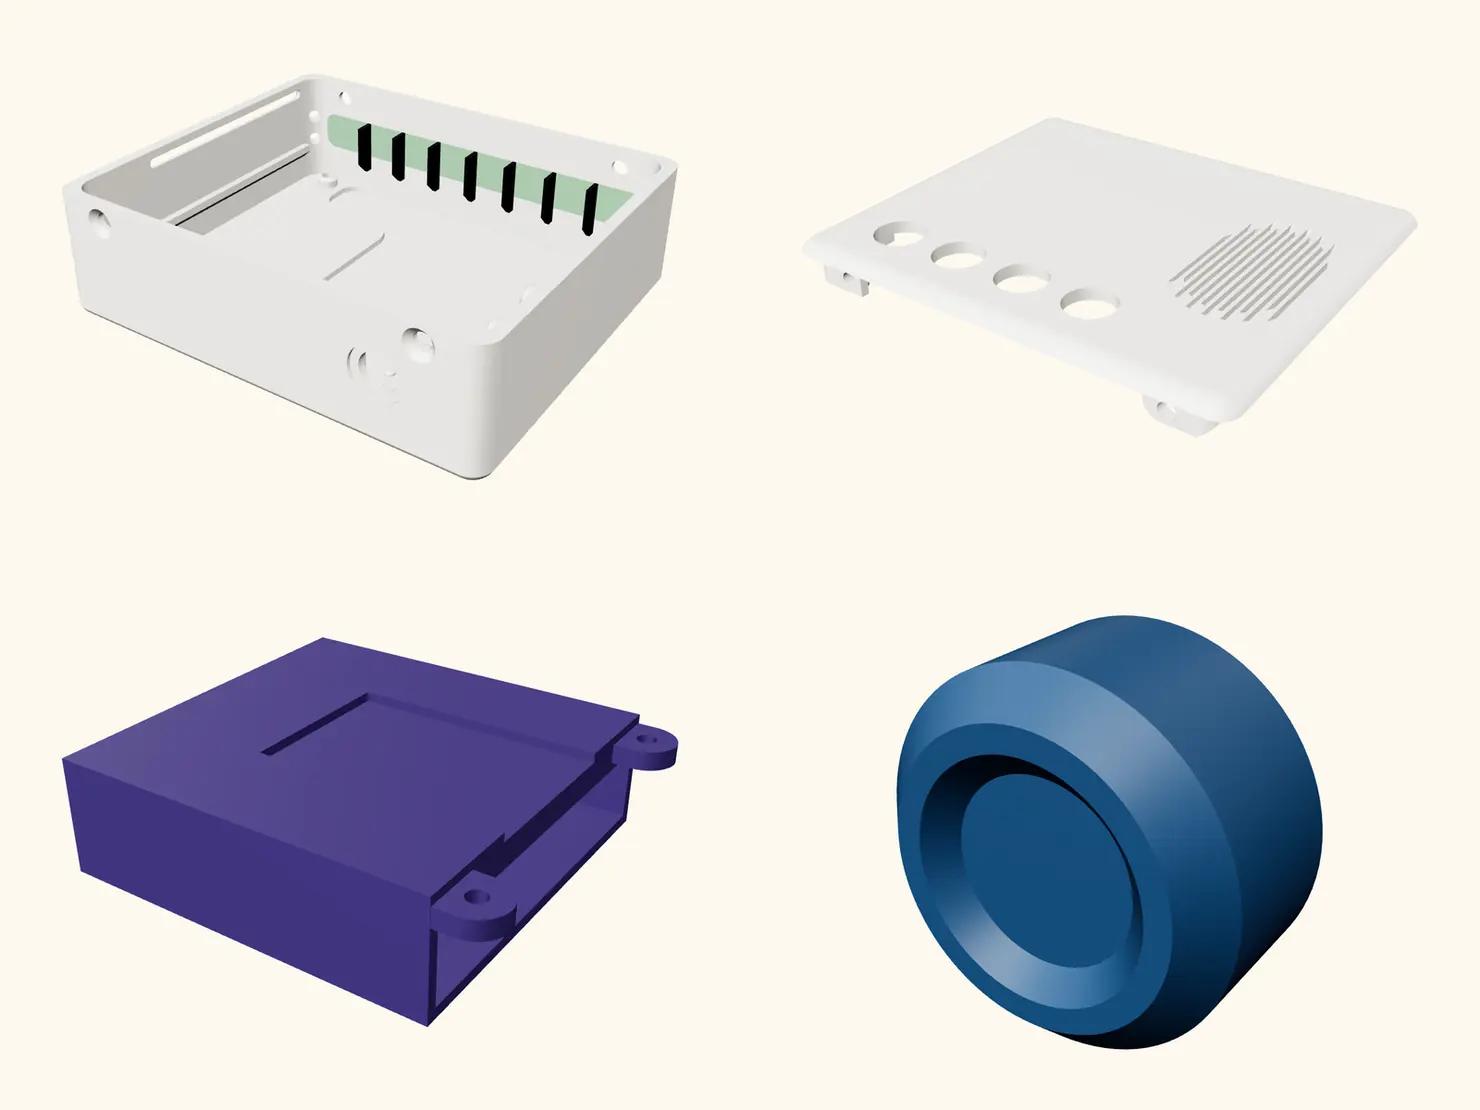
- The body (top left): the shell that holds the board and the speaker.
- The lid (top right): the front face, with the holes for the four buttons and the speaker grille.
- The insert (bottom left): the card holder. The slot is shifted towards the front so the NFC antenna reads both cards and figurines.
- The knob (bottom right): it fits over the board's rotary encoder, it is the one you turn for volume.
The body is multi-material: a side window in transparent filament to let the LED light through, fins in dark filament so one LED's light does not spill onto the next.
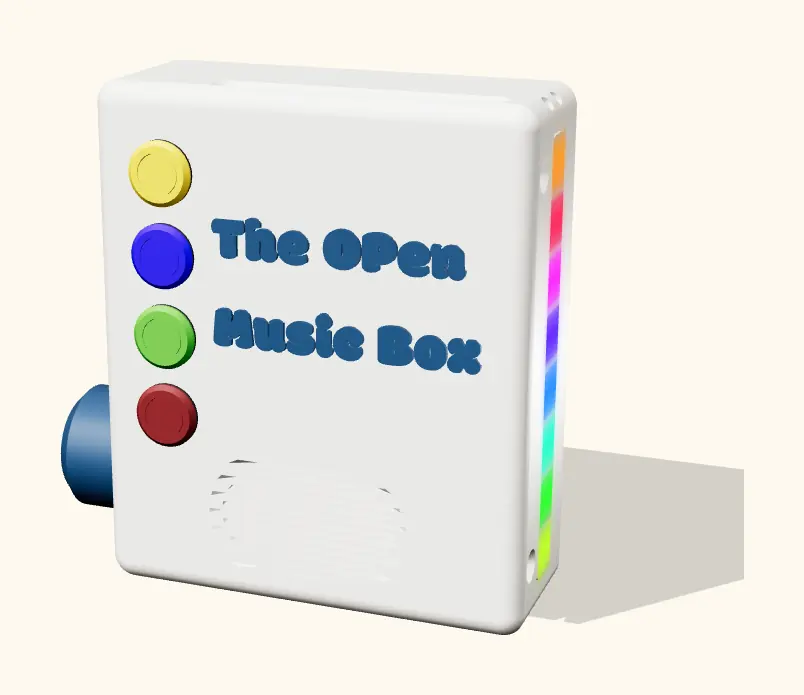
The electronics
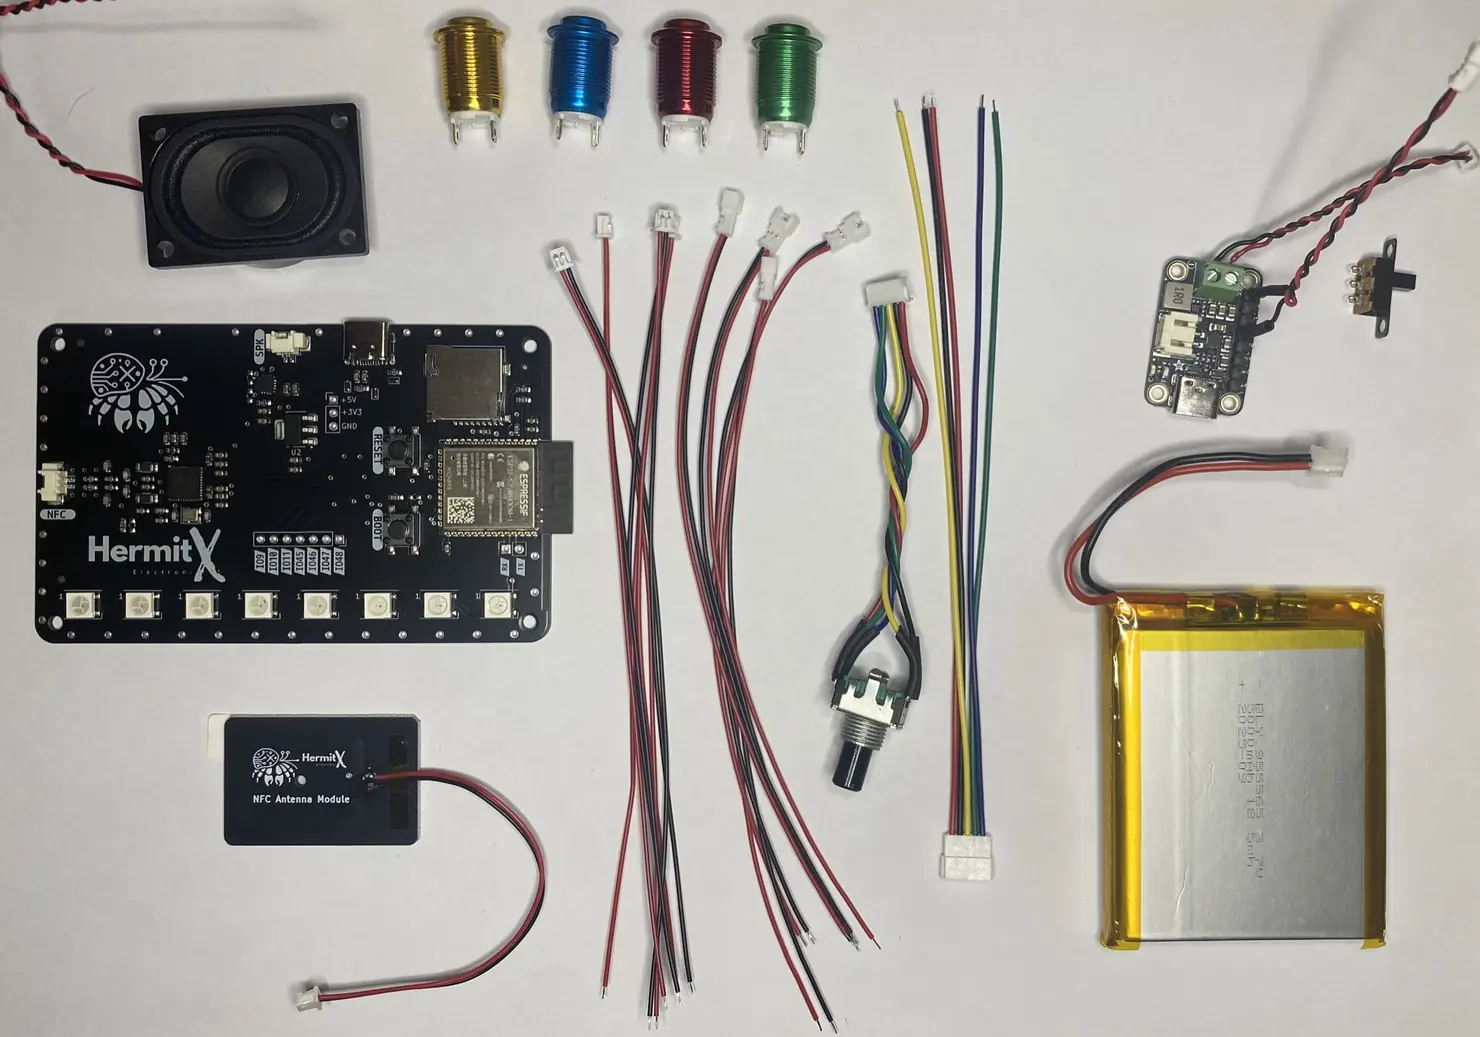
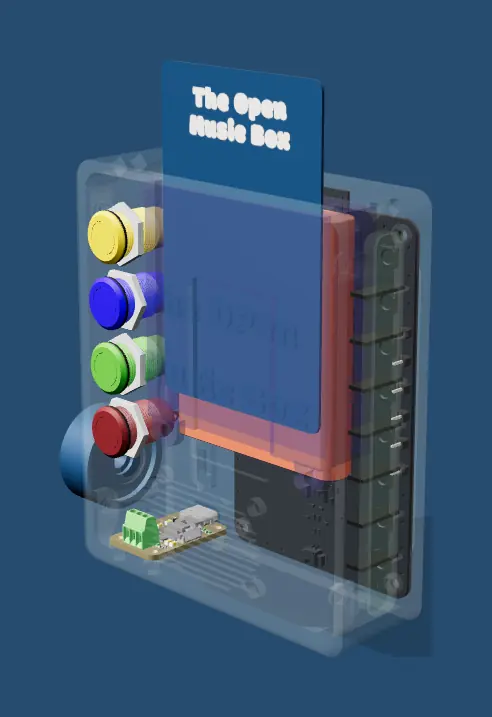
A development board designed by HermitX, around an ESP32-S3 module. It gathers the essentials on a single circuit: the NFC reader and its antenna, the amplifier and its speaker, the LEDs and the memory card reader. Around it: four buttons, a rotary encoder, a battery and its charger.
The firmware
It is the software that runs the box. It installs from the browser, in Chrome or Edge: you plug the board in over USB, pick your version, click. Nothing to install.
It stays proprietary and ships compiled, but it is free. You can have a look at the firmware page.
The mobile app
The box is driven from your phone. The app finds it, you send it your files, you link a card to a playlist, and you get the remote: play, next track, position and volume.
Trouver sa MusicBox
L'app cherche les box autour d'elle et les liste avec leur puissance de signal.
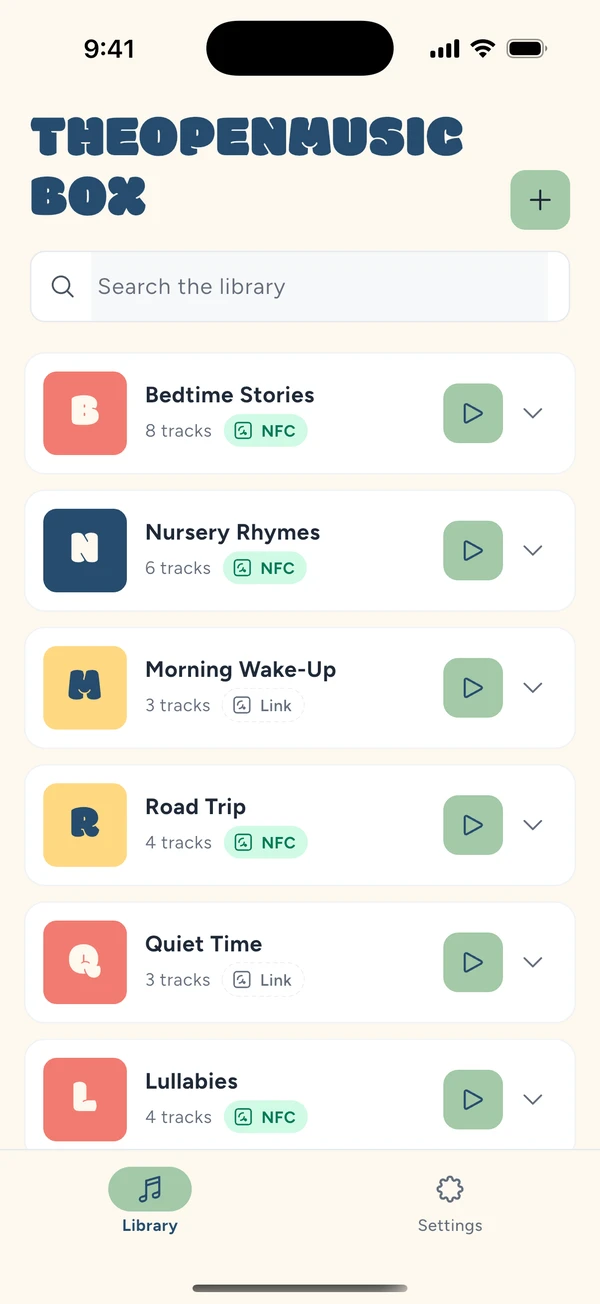
La bibliothèque
Toutes les playlists sur un écran, avec leur nombre de pistes et la carte associée.
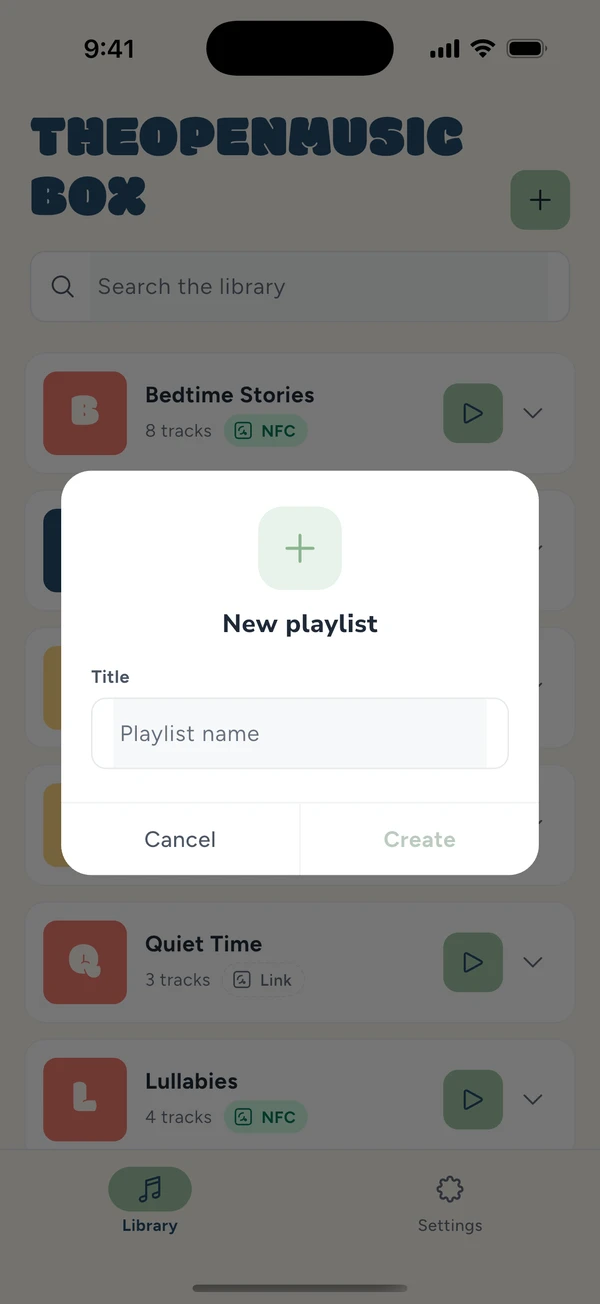
Créer une playlist
Un nom suffit pour la créer. Le reste se remplit ensuite.
La télécommande
Lecture, piste suivante, position et volume de la box, depuis le canapé.
Associer une carte
La box attend une carte, tu la poses dessus, elle est liée à la playlist.
Envoyer tes fichiers
Le transfert part du téléphone vers la box, suivi en direct.
Where each platform stands is here:
Want a MusicBox of your own?
Every file is available: the printable enclosure, the parts list, the pinout and the firmware. The parts can all be found online.
It is doable. But it is not easy. You need a 3D printer and a soldering iron, and the soldering is where it gets tricky.
The brass inserts are a walk in the park compared to soldering the headers. Power and GPIO are easy: 3 pins for power and 7 for the GPIO. And finally, 6 for GND. Those are no fun at all. They are a real pain: the ground plane soaks up the heat, the solder struggles to take in the holes, and the copper pad it has to grip is really small.
The two most reliable methods I found:
- preheat the area, then solder the pin. It works, but it is a pain;
- apply flux and solder paste, then melt it with the iron or a heat gun.
And before plugging the battery in for the very first time, check its polarity. Its wiring is not standardised: the ones I got from AliExpress had the poles swapped. I fried a few boards before I noticed.
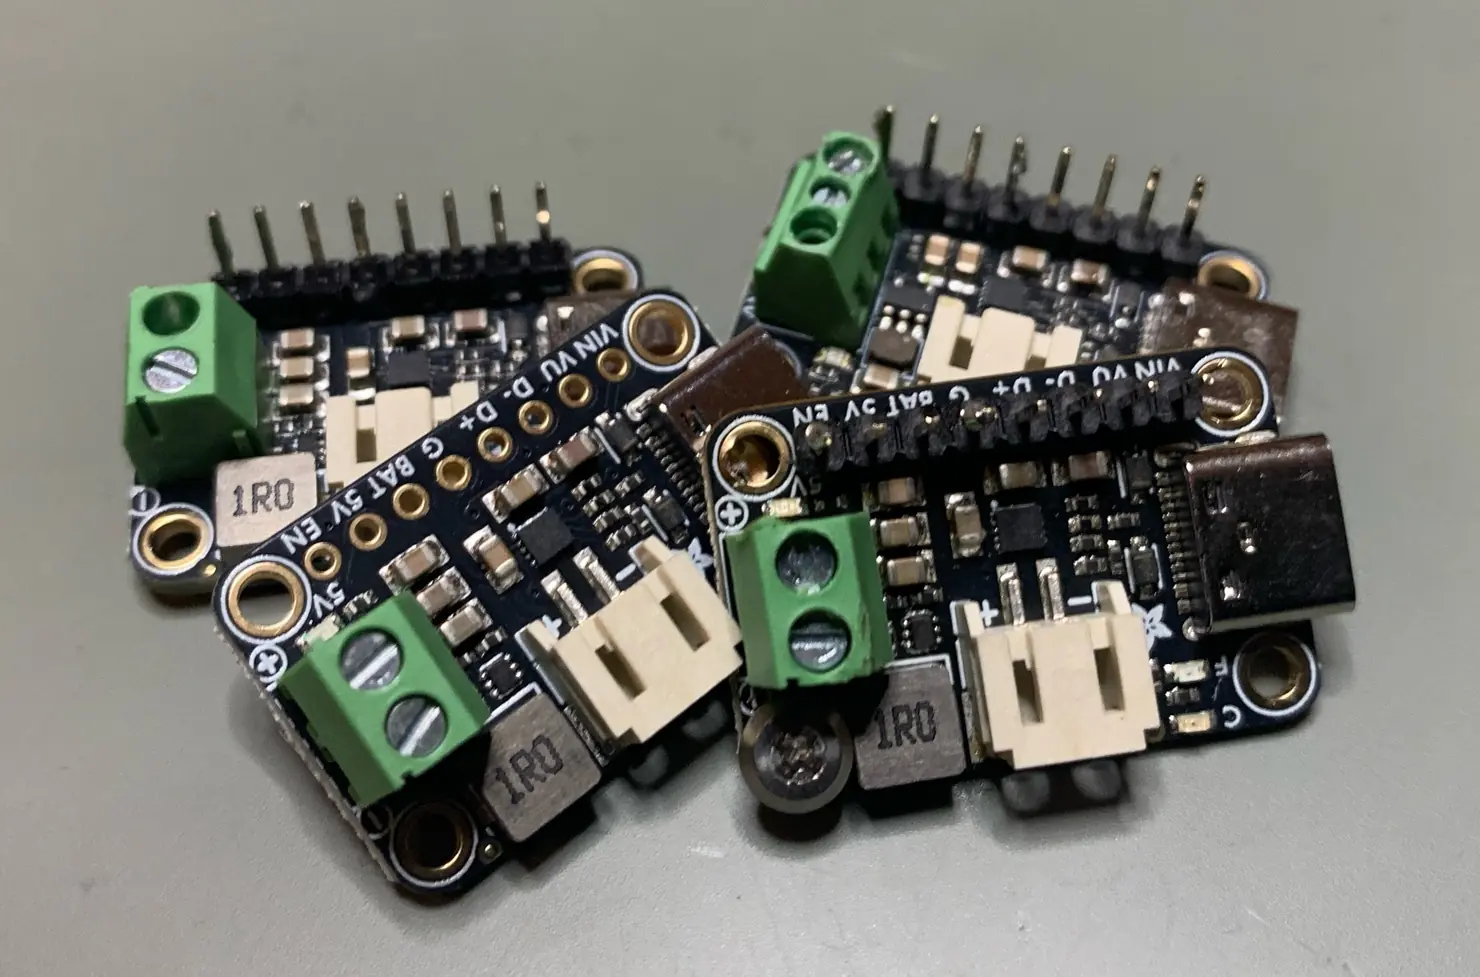
It is a prototyping board, made for makers: it carries no regulatory certification.
Otherwise, wait for what comes next
We are working on a DIY kit and on a commercial version. For the latter, a crowdfunding campaign is planned for 2027.
If you want to hear about the progress, sign up for the newsletter: one letter every two weeks, what I am building and what is coming out.
And to talk about it, there is the Discord.
Everything that is coming is on the roadmap.